Weaving a circular tapestry is a creative and rewarding process that breaks away from the traditional rectangular or square format. Unlike straight-edged weaving, circular tapestries introduce unique challenges in warp placement, tension control, and shaping techniques. The result is a visually dynamic and organic piece that can serve as wall art, a decorative accent, or even a functional item like a seat cover or coaster. Whether you are an experienced weaver looking for a new challenge or a beginner eager to experiment, learning how to weave in the round can be both fun and inspiring.
Choosing the Right Materials and Tools
Before starting, selecting the right materials will ensure a smooth weaving process.
- A circular loom is essential for this project. You can purchase one, repurpose an embroidery hoop, or make a DIY version with a sturdy frame.
- Warp thread should be strong and resistant to stretching. Cotton, linen, or wool warp works well.
- A variety of weft yarns in different thicknesses and textures will create visual interest and depth.
- Basic weaving tools such as a tapestry needle, scissors, and a weaving comb will help maintain evenness in the weave.
Setting Up the Circular Warp
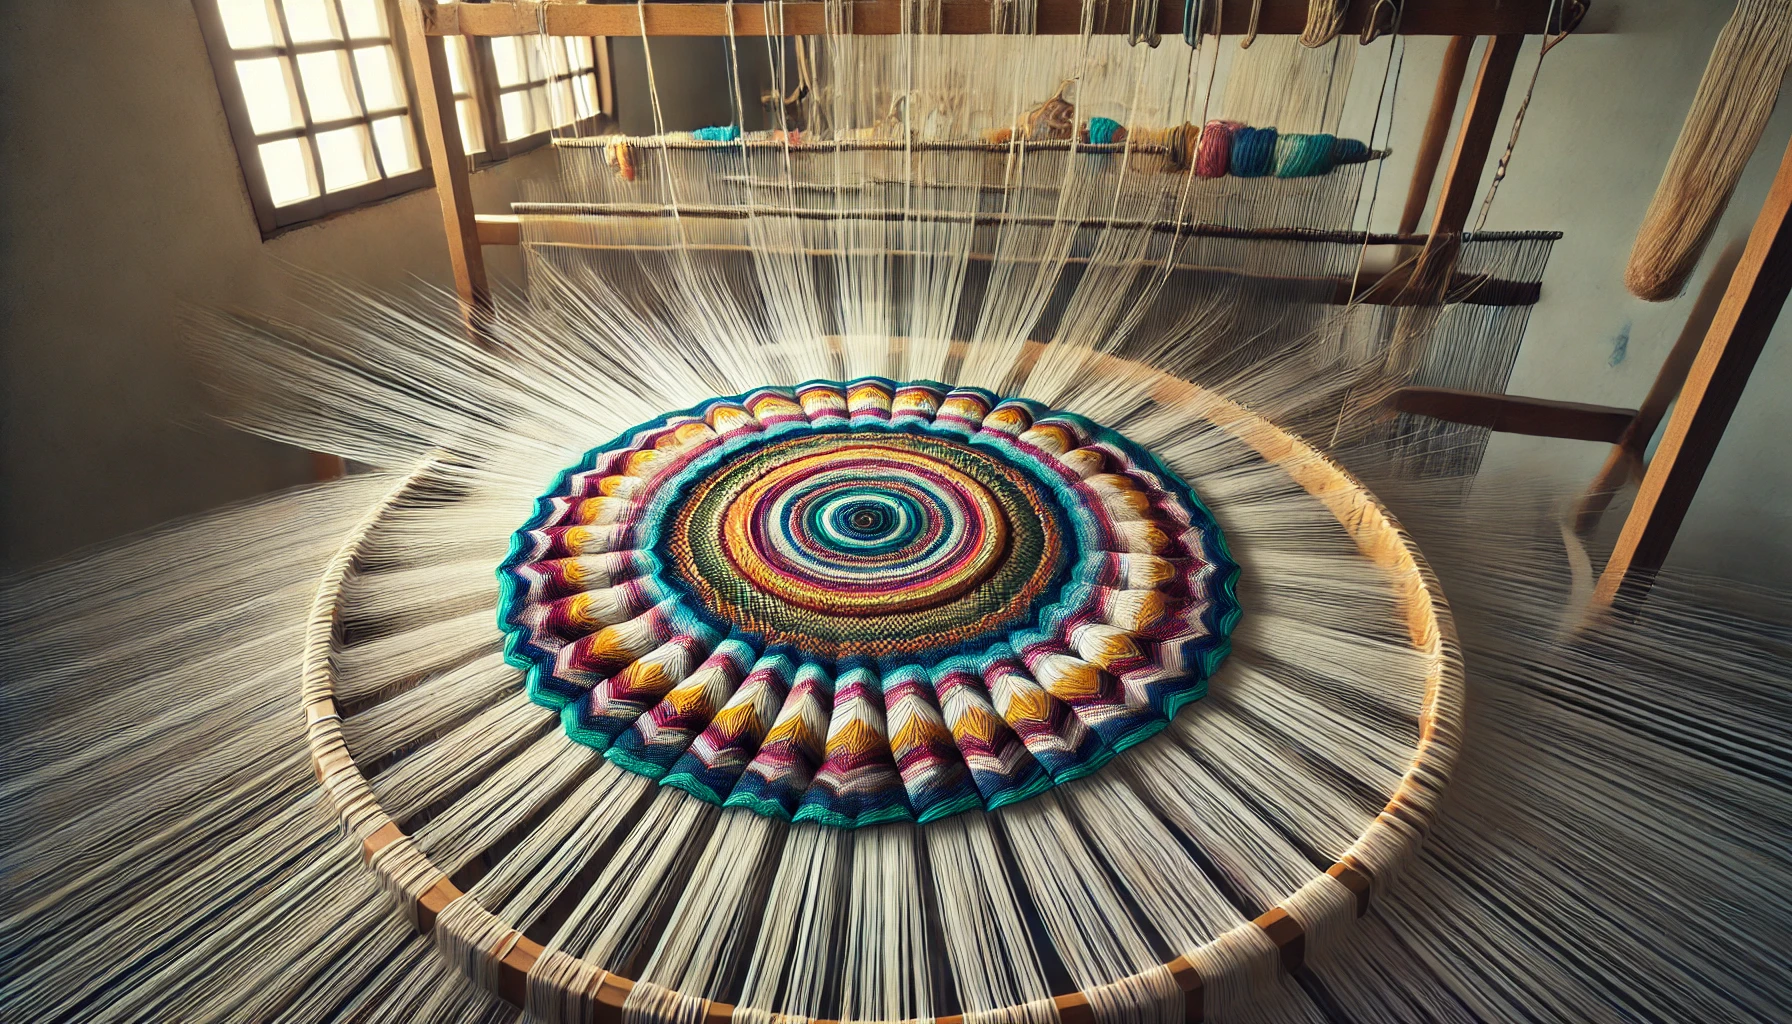
Unlike a traditional loom, a circular tapestry requires a different approach to warping.
- Secure the warp threads evenly around the edge of the circular frame, spacing them at regular intervals to ensure balance.
- Bring all the warp threads to the center of the loom, tying them securely at a central point. This forms the spokes of the weaving, similar to a bicycle wheel.
- Adjust the tension so that all the warp threads are evenly stretched but not too tight, as circular weaving requires flexibility.
Weaving the Center and Expanding Outward
Circular weaving begins at the center and radiates outward in concentric circles.
- Start with a tight spiral in the middle, using a strong weft yarn to anchor the design.
- Work in continuous loops, ensuring each new round stays close to the previous one.
- Use a tapestry needle or fingers to guide the weft around the warp spokes, adjusting tension as needed.
To avoid distortion, maintain even pressure throughout the weave. If the weft becomes too tight, the piece may curl, while loose wefts can create gaps.
Creating Patterns and Texture
Circular tapestries allow for a variety of design techniques.
- Mixing different yarn textures adds depth and movement to the piece.
- Alternating colors between rounds can create striking visual effects.
- Using soumak or knotting techniques can introduce raised areas for more dimension.
- Leaving gaps or varying weft thickness can result in a more organic and artistic appearance.
Finishing the Circular Tapestry
Once the desired size is reached, securing the edges is crucial for a clean finish.
- Weave in the last rows tightly to prevent unraveling.
- Knot the weft ends and tuck them into the backside of the tapestry.
- If using an embroidery hoop or removable frame, carefully detach the warp loops and secure them.
- Block or press the tapestry if needed to help it retain its shape.
Displaying a Circular Woven Piece
A completed circular tapestry can be displayed in different ways.
- Hanging it directly on a wall as an art piece.
- Framing it in a wooden hoop or a decorative ring.
- Using it as a decorative table mat or textile accent.
By embracing the circular format, weavers can create unique and unconventional designs that stand out from traditional woven pieces. The process is both meditative and rewarding, offering endless possibilities for texture, color, and pattern exploration.