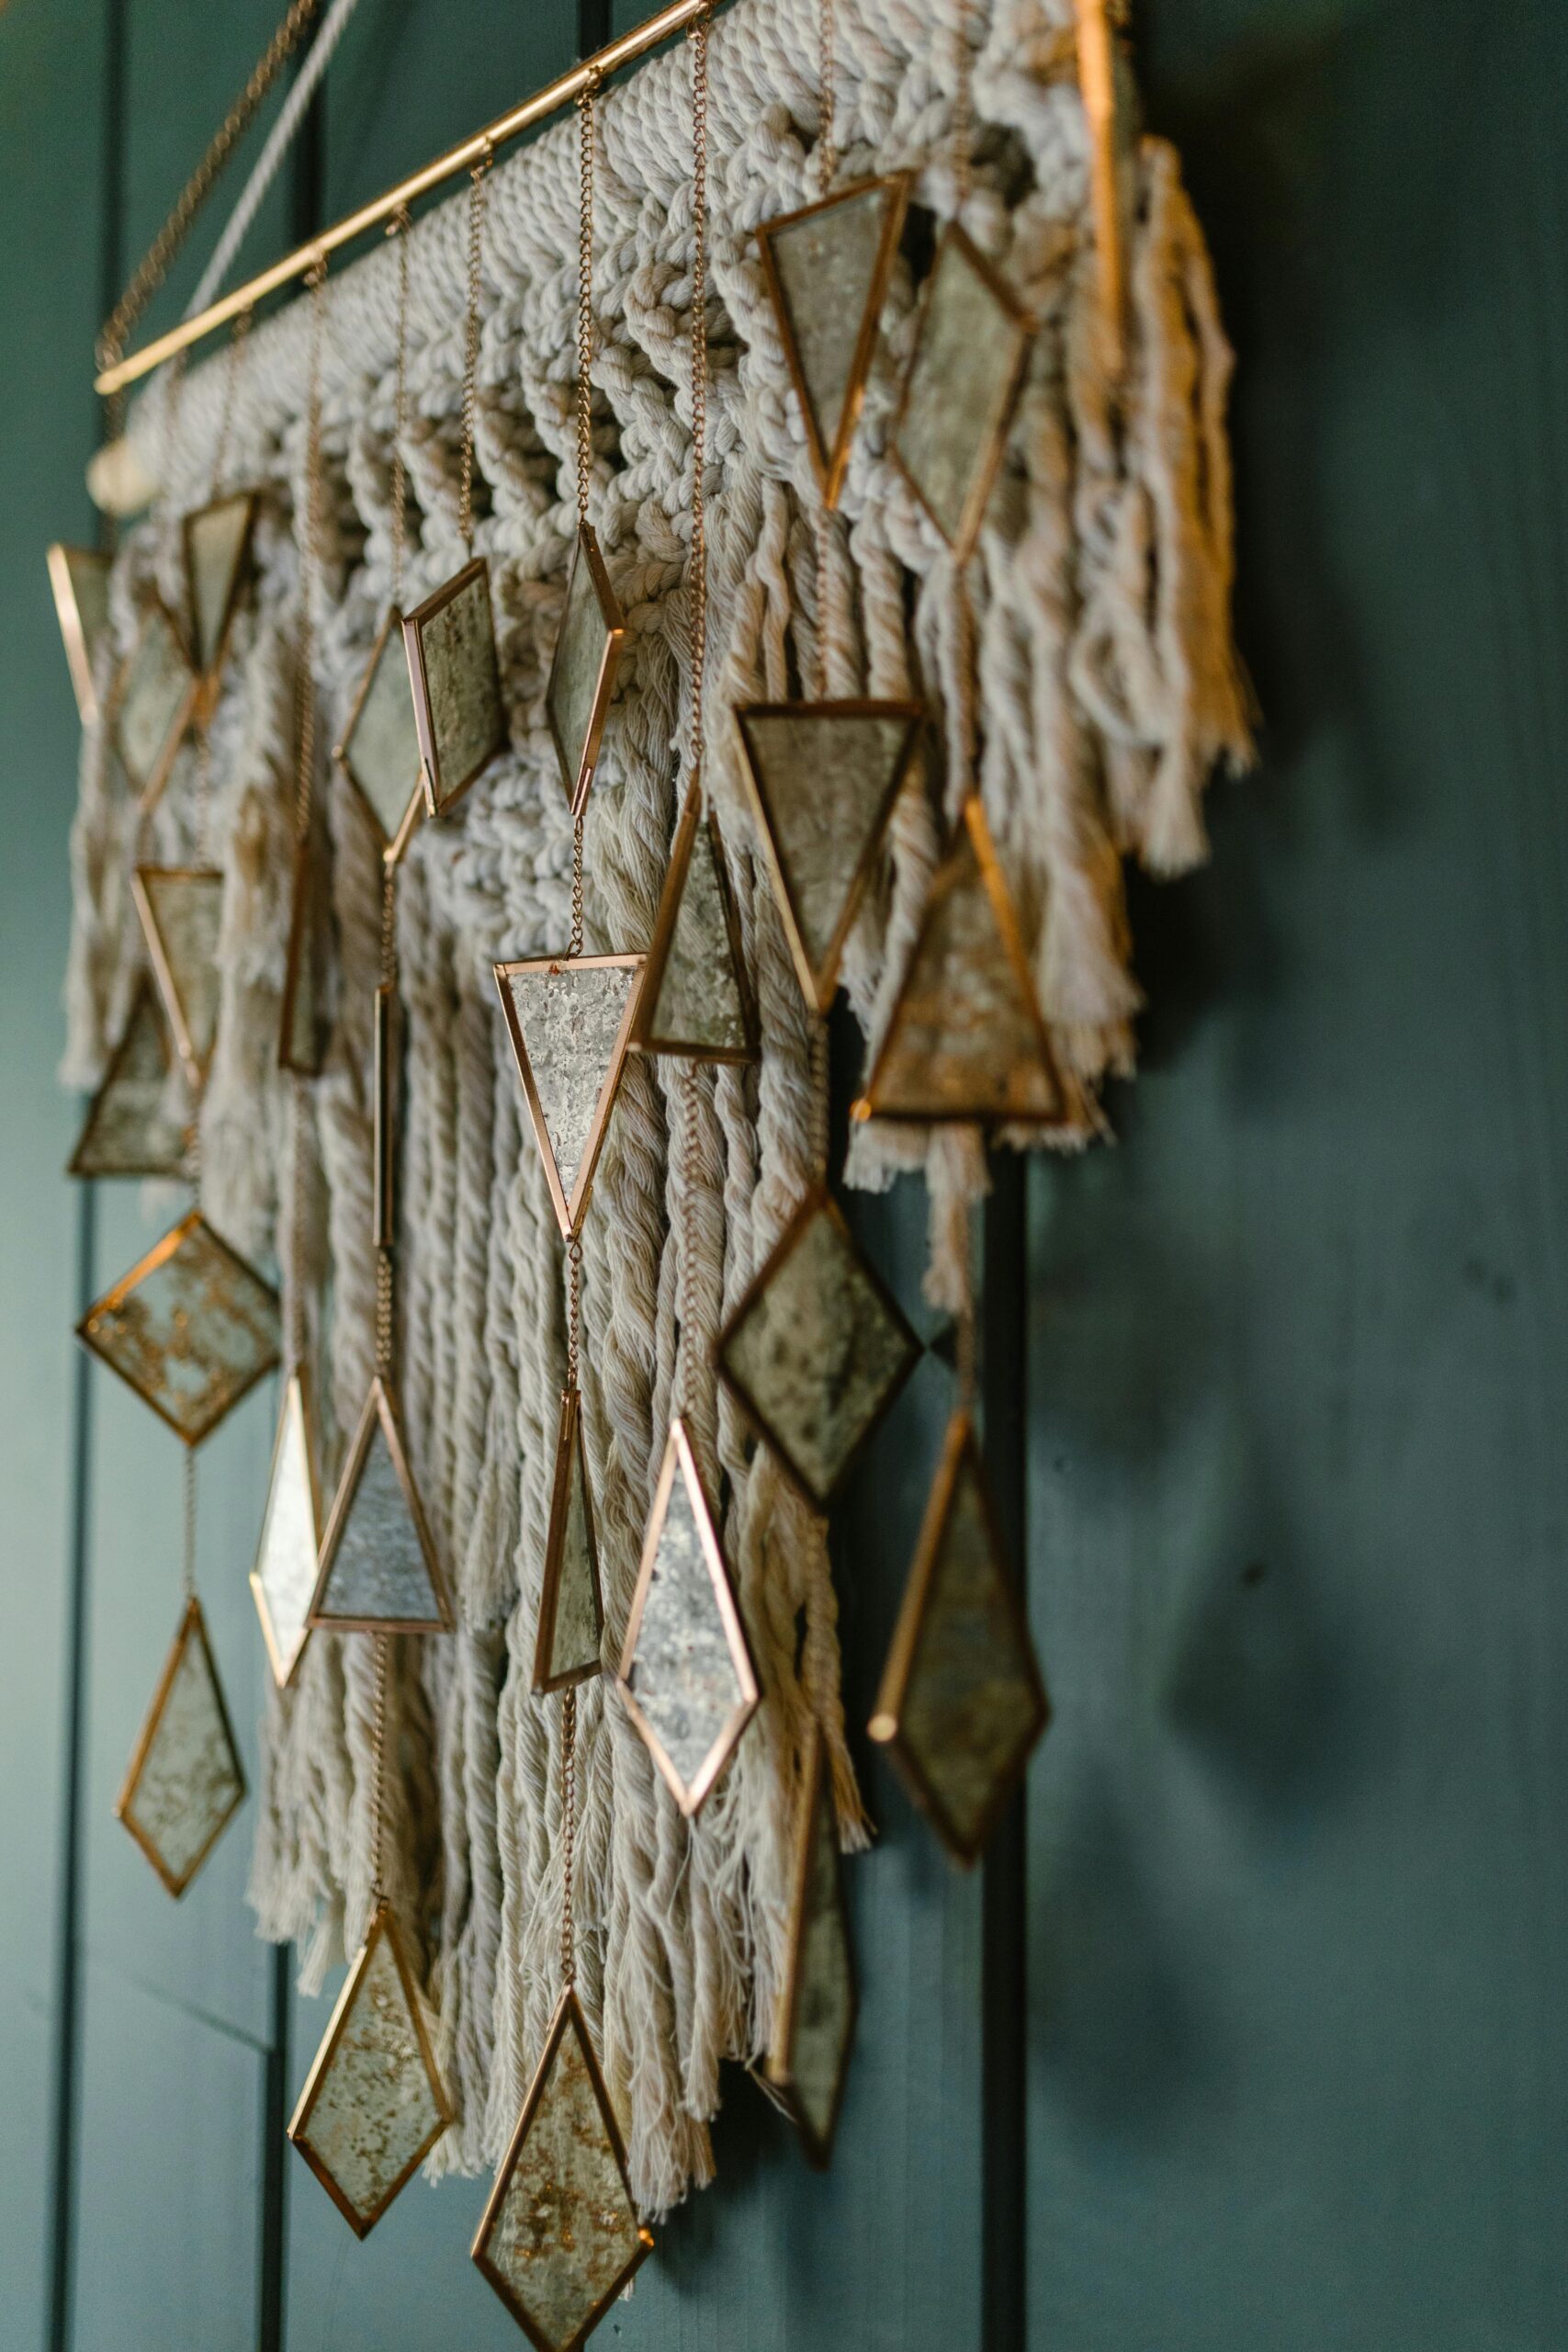
Wall hangings have become a popular décor element, bringing texture, color, and personality to any space. One of the most charming techniques for creating intricate and textured designs is the French knot. This embroidery method adds dimension and detail, making your wall hanging truly stand out. Whether you’re a beginner or an experienced fiber artist, learning how to incorporate French knots into your work can elevate your creations to a whole new level. In this guide, we’ll explore how to make wall hangings using French knots, from selecting the right materials to mastering the technique.
What is a French Knot?
A French knot is an embroidery technique that involves wrapping the thread around the needle before inserting it back into the fabric, creating a small, textured dot. It is commonly used to add decorative details, such as flower centers, textured backgrounds, or even abstract designs. The beauty of French knots lies in their versatility – by varying the number of wraps or the thickness of the thread, you can create different sizes and textures, giving depth and complexity to your wall hanging.
This technique is widely used in embroidery but has also found its place in modern tapestry and wall art. The raised texture adds an appealing 3D effect, making it ideal for creating patterns, landscapes, or intricate detailing.
Materials You Will Need
To make a wall hanging using French knots, you’ll need the following materials:
- Fabric Base: Choose a sturdy fabric that can support the weight of the knots without sagging. Cotton canvas, linen, or heavy cotton are excellent choices.
- Embroidery Hoop: This keeps the fabric taut while you work, making it easier to maintain consistent tension.
- Embroidery Floss or Yarn: Depending on the desired texture and look, you can use thin embroidery floss for delicate knots or thicker yarn for a more robust appearance.
- Embroidery Needle: Select a needle with an eye large enough for your chosen thread. Tapestry needles work well for yarn, while embroidery needles are better suited for floss.
- Scissors: Sharp scissors are necessary for trimming the threads neatly.
- Hanging Rod or Dowel: For displaying your finished wall hanging.
Choosing the Right Design
Before starting your project, it’s essential to decide on the design and composition of your wall hanging. French knots are highly versatile and can be used in various patterns and styles, such as:
- Floral Patterns: Using French knots as flower centers or to form blooming bouquets.
- Abstract Textures: Creating textured backgrounds or geometric shapes.
- Landscapes: Adding depth to scenes, such as creating textured bushes, hills, or clouds.
- Lettering or Quotes: Forming words or phrases with densely packed knots.
For beginners, it’s a good idea to start with a simple design, such as scattered dots or geometric shapes, before progressing to more complex patterns. Sketching the design on paper first can help you visualize the composition and determine the placement of the knots.
Preparing the Fabric
Once you have your design ready, it’s time to prepare the fabric. Place the fabric inside the embroidery hoop, making sure it is stretched taut. This tension is crucial for maintaining the consistency of the knots. If the fabric is too loose, the knots may appear uneven or sag.
If you’re using a complex design, lightly sketch it onto the fabric with a fabric pencil or water-soluble pen. This guideline helps maintain accuracy and symmetry while stitching.
How to Make a French Knot
Mastering the French knot technique is the key to creating stunning wall hangings. Here’s a step-by-step guide on how to make a perfect French knot:
- Thread the Needle: Cut a piece of embroidery floss or yarn and thread it through the needle, tying a knot at the end.
- Bring the Needle Up: Start from the backside of the fabric, bringing the needle up at the point where you want the knot to be.
- Wrap the Thread: Holding the thread taut with one hand, wrap it around the needle one to three times, depending on the desired knot size. More wraps create larger, more pronounced knots.
- Insert the Needle: Insert the needle back into the fabric very close to where you first brought it up. Be careful not to go into the exact same hole, as this can cause the knot to slip through.
- Pull Tight: While holding the wrapped thread in place, pull the needle through to the backside, tightening the knot. The key is to maintain gentle tension to keep the knot neat and consistent without pulling too tightly.
Tips for Consistent French Knots
Achieving consistent French knots requires practice and attention to detail. Here are some helpful tips:
- Maintain Even Tension: Consistent tension is essential to avoid uneven knots. Practice holding the thread taut while wrapping and pulling through.
- Uniform Wraps: Wrap the thread the same number of times for each knot to keep them uniform in size.
- Spacing and Placement: Plan the spacing of the knots in advance, especially if creating patterns or lettering, to maintain symmetry and balance.
- Experiment with Thread Thickness: Try using different thicknesses of yarn or embroidery floss to create varying textures and effects.
Creating the Wall Hanging
With the French knot technique mastered, it’s time to create your wall hanging. Start by stitching the knots according to your design. It’s usually best to work from the center outward or from top to bottom to avoid tangling the threads.
Feel free to experiment with color combinations, varying knot sizes, and patterns to achieve a unique and visually appealing design. Once completed, remove the fabric from the embroidery hoop and trim any excess threads.
Finishing and Displaying
To transform your embroidered fabric into a wall hanging, attach it to a dowel or hanging rod. Fold the top edge of the fabric over the rod and sew it in place or use fabric glue for a cleaner finish. Alternatively, you can frame the piece for a more polished look.
Choose a suitable spot in your home to display your wall hanging, where its textured beauty can be appreciated. French knot wall hangings add a cozy and artistic touch to living rooms, bedrooms, or even home offices.
Why Use French Knots in Wall Hangings?
French knots offer a unique way to add texture, depth, and character to wall hangings. Their versatility allows you to create a variety of effects, from delicate, dotted patterns to bold, textured landscapes. This technique also pairs beautifully with other embroidery stitches or weaving methods, enabling you to experiment with mixed-media designs.
The meditative process of creating French knots is another benefit. Many crafters find the repetitive, rhythmic motion calming and creatively satisfying. It’s a wonderful way to slow down, disconnect from digital distractions, and focus on a tactile, hands-on project.
By mastering the French knot and learning how to incorporate it into your designs, you can create stunning wall hangings that are both visually appealing and full of personality. Whether you’re crafting for your own home or making a thoughtful handmade gift, French knots are sure to bring charm and uniqueness to your textile art. So, gather your materials, pick a design, and start knotting your way to beautiful wall art.