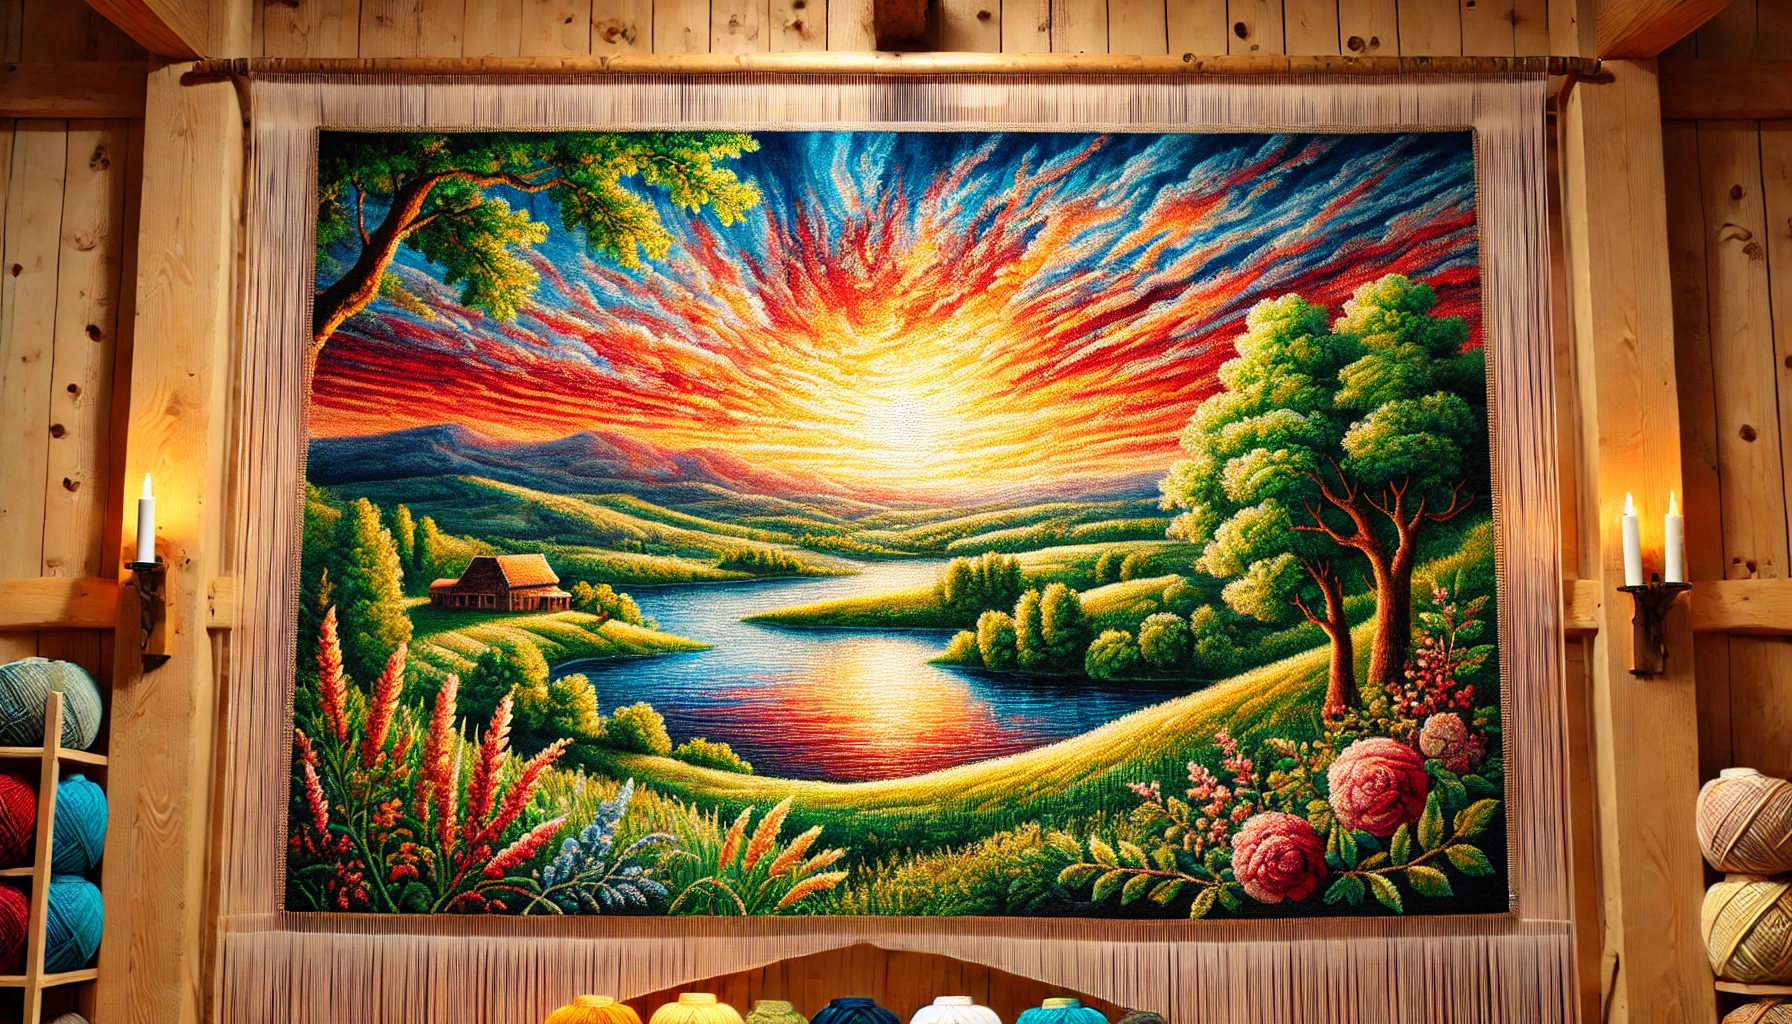
Weaving a landscape scene is a beautiful and artistic way to capture nature in textile form. Whether you’re inspired by rolling hills, serene lakes, or dramatic mountain ranges, tapestry weaving allows you to translate these natural elements into woven art. In this step-by-step guide, we’ll explore how to design, plan, and execute a landscape tapestry, incorporating texture, color blending, and depth to bring your scene to life.
Planning Your Landscape Design
Choose a Landscape Scene
Before starting, decide on the type of landscape you want to weave. Some popular options include:
- Mountains and Valleys – Perfect for dramatic depth and layering
- Seascapes – Capturing waves and sky gradients through smooth blending techniques
- Forests and Fields – Great for adding texture with tree trunks, leaves, and grassy elements
- Desert Landscapes – Warm tones and soft transitions mimic the dunes and sky
If you’re unsure, use a photograph or painting as a reference. Simplify complex details into broad shapes that can be translated into weaving.
Sketch a Rough Design
On paper, draw a basic outline of the landscape, breaking it into sections like the foreground, middle ground, and background. Identify key elements such as mountains, trees, or water, and plan where color transitions will happen.
Select Your Color Palette
Choosing the right yarn colors is crucial for a realistic and visually appealing landscape. Consider using:
- Gradient colors for sky and water (light blues, purples, oranges for sunsets)
- Layered greens and browns for land and trees (deep greens for forests, ochres for fields)
- Earthy tones for depth (grays, beiges, and muted shades for mountains and rock formations)
Variegated or hand-dyed yarns can help create natural variations without needing excessive color changes.
Preparing Your Loom and Materials
Materials Needed
- Loom – A frame loom or a larger tapestry loom, depending on your desired size
- Warp Threads – Cotton or linen threads for a strong base
- Weft Yarn – A mix of wool, cotton, or synthetic fibers in various colors
- Tapestry Needle – For detailed weaving and color changes
- Comb or Beater – Helps push the weft threads down evenly
- Sketch or Reference Image – To guide your weaving process
Warping the Loom
Set up your warp threads evenly across the loom. Keep them spaced consistently to ensure a balanced weave. A tighter warp is helpful for detailed landscapes, while a looser warp allows for more textured, organic designs.
Weaving the Background: The Sky
Start from the top of the tapestry and work downward. The sky is a crucial part of the landscape, often requiring smooth gradients to create a natural look.
Blending Colors for the Sky
- Use a weft blending technique, gradually introducing new shades of blue, purple, or sunset hues
- Slit tapestry technique can create defined cloud shapes
- For a soft transition, use the hatching method, weaving two colors together in overlapping sections
If weaving a sunset, blend warm tones like peach, pink, and lavender into the sky for a glowing effect.
Creating Depth with Mountains and Hills
Layering for Depth
To create realistic mountains and rolling hills, use overlapping layers:
- Start with darker colors in the background (fading into the sky)
- Use lighter shades in the foreground to create the illusion of distance
- Soumak stitch can add texture for rocky mountain areas
Outline mountain ridges using contrasting shades to define edges and enhance the 3D effect.
Weaving Trees, Fields, and Water
Weaving Trees and Forests
- Use vertical weft lines to represent tree trunks
- For leaves, Rya knots or looped pile techniques create texture
- Different shades of green add variety and realism
Creating Water and Reflections
For lakes, rivers, or oceans:
- Use wavy weft lines to mimic water movement
- Blend blues and greens smoothly to create depth
- Metallic threads can add shimmering highlights for reflections
Weaving Grass and Fields
- Mix short and long stitches to add texture
- Use randomized color blending to make fields look natural
- Incorporate different shades of yellow, green, and brown for variation
Adding Final Details and Texture
- Embroider Fine Details – Use embroidery stitches to define tree branches, flowers, or fine lines in mountains
- Use Knots for Texture – French knots or Rya knots can add depth to bushes, shrubs, or fluffy clouds
- Outlining Elements – Slightly darker shades can help define shapes and add contrast
Finishing the Tapestry
Securing the Weave
- Weave a few rows of plain weave at the bottom to secure the final threads
- Tie off and trim warp ends neatly
Mounting and Displaying
- Attach the tapestry to a wooden dowel for hanging
- Frame it under glass for a clean, modern look
- Display it in a well-lit space to enhance the depth and colors
Conclusion
Weaving a landscape tapestry is a creative way to bring nature into textile art. By carefully planning colors, using blending techniques, and incorporating texture, you can create a woven scene that captures the beauty of the outdoors. Whether you’re weaving a mountain view, a sunset over the ocean, or a peaceful countryside, the key is to experiment and enjoy the process of translating landscapes into fiber art.