Creating a themed tapestry for special occasions like Christmas or weddings is a rewarding and artistic endeavor. A handmade tapestry can serve as a stunning centerpiece for a holiday gathering, a meaningful wedding decoration, or even a treasured heirloom. While the process of weaving a tapestry requires patience and planning, the result is a unique piece of art that carries personal significance. In this guide, we will explore the step-by-step process of designing, weaving, and finishing a themed tapestry, ensuring that it aligns perfectly with the spirit of the occasion.
Planning Your Themed Tapestry
A well-designed tapestry begins with a clear vision. Before gathering materials, take time to define the theme, color scheme, and motifs that will bring your idea to life.
For a Christmas tapestry, traditional colors like red, green, gold, and white work well, along with motifs such as snowflakes, reindeer, holly leaves, and Christmas trees. A more modern approach might incorporate deep blues and silvers, minimalist geometric patterns, or a Scandinavian-inspired aesthetic with natural tones.
For a wedding tapestry, softer colors such as ivory, blush pink, and champagne can evoke romance, while deeper shades of burgundy, navy, or emerald can create a dramatic, elegant effect. Personalization elements such as the couple’s initials, wedding date, or floral patterns that match the bouquet can make the piece even more special.
Once you have a theme in mind, sketch a rough design on paper. Consider the tapestry’s intended size and placement. Will it be a small decorative wall hanging or a large backdrop for a wedding ceremony? The dimensions will influence the type of loom and materials you need.
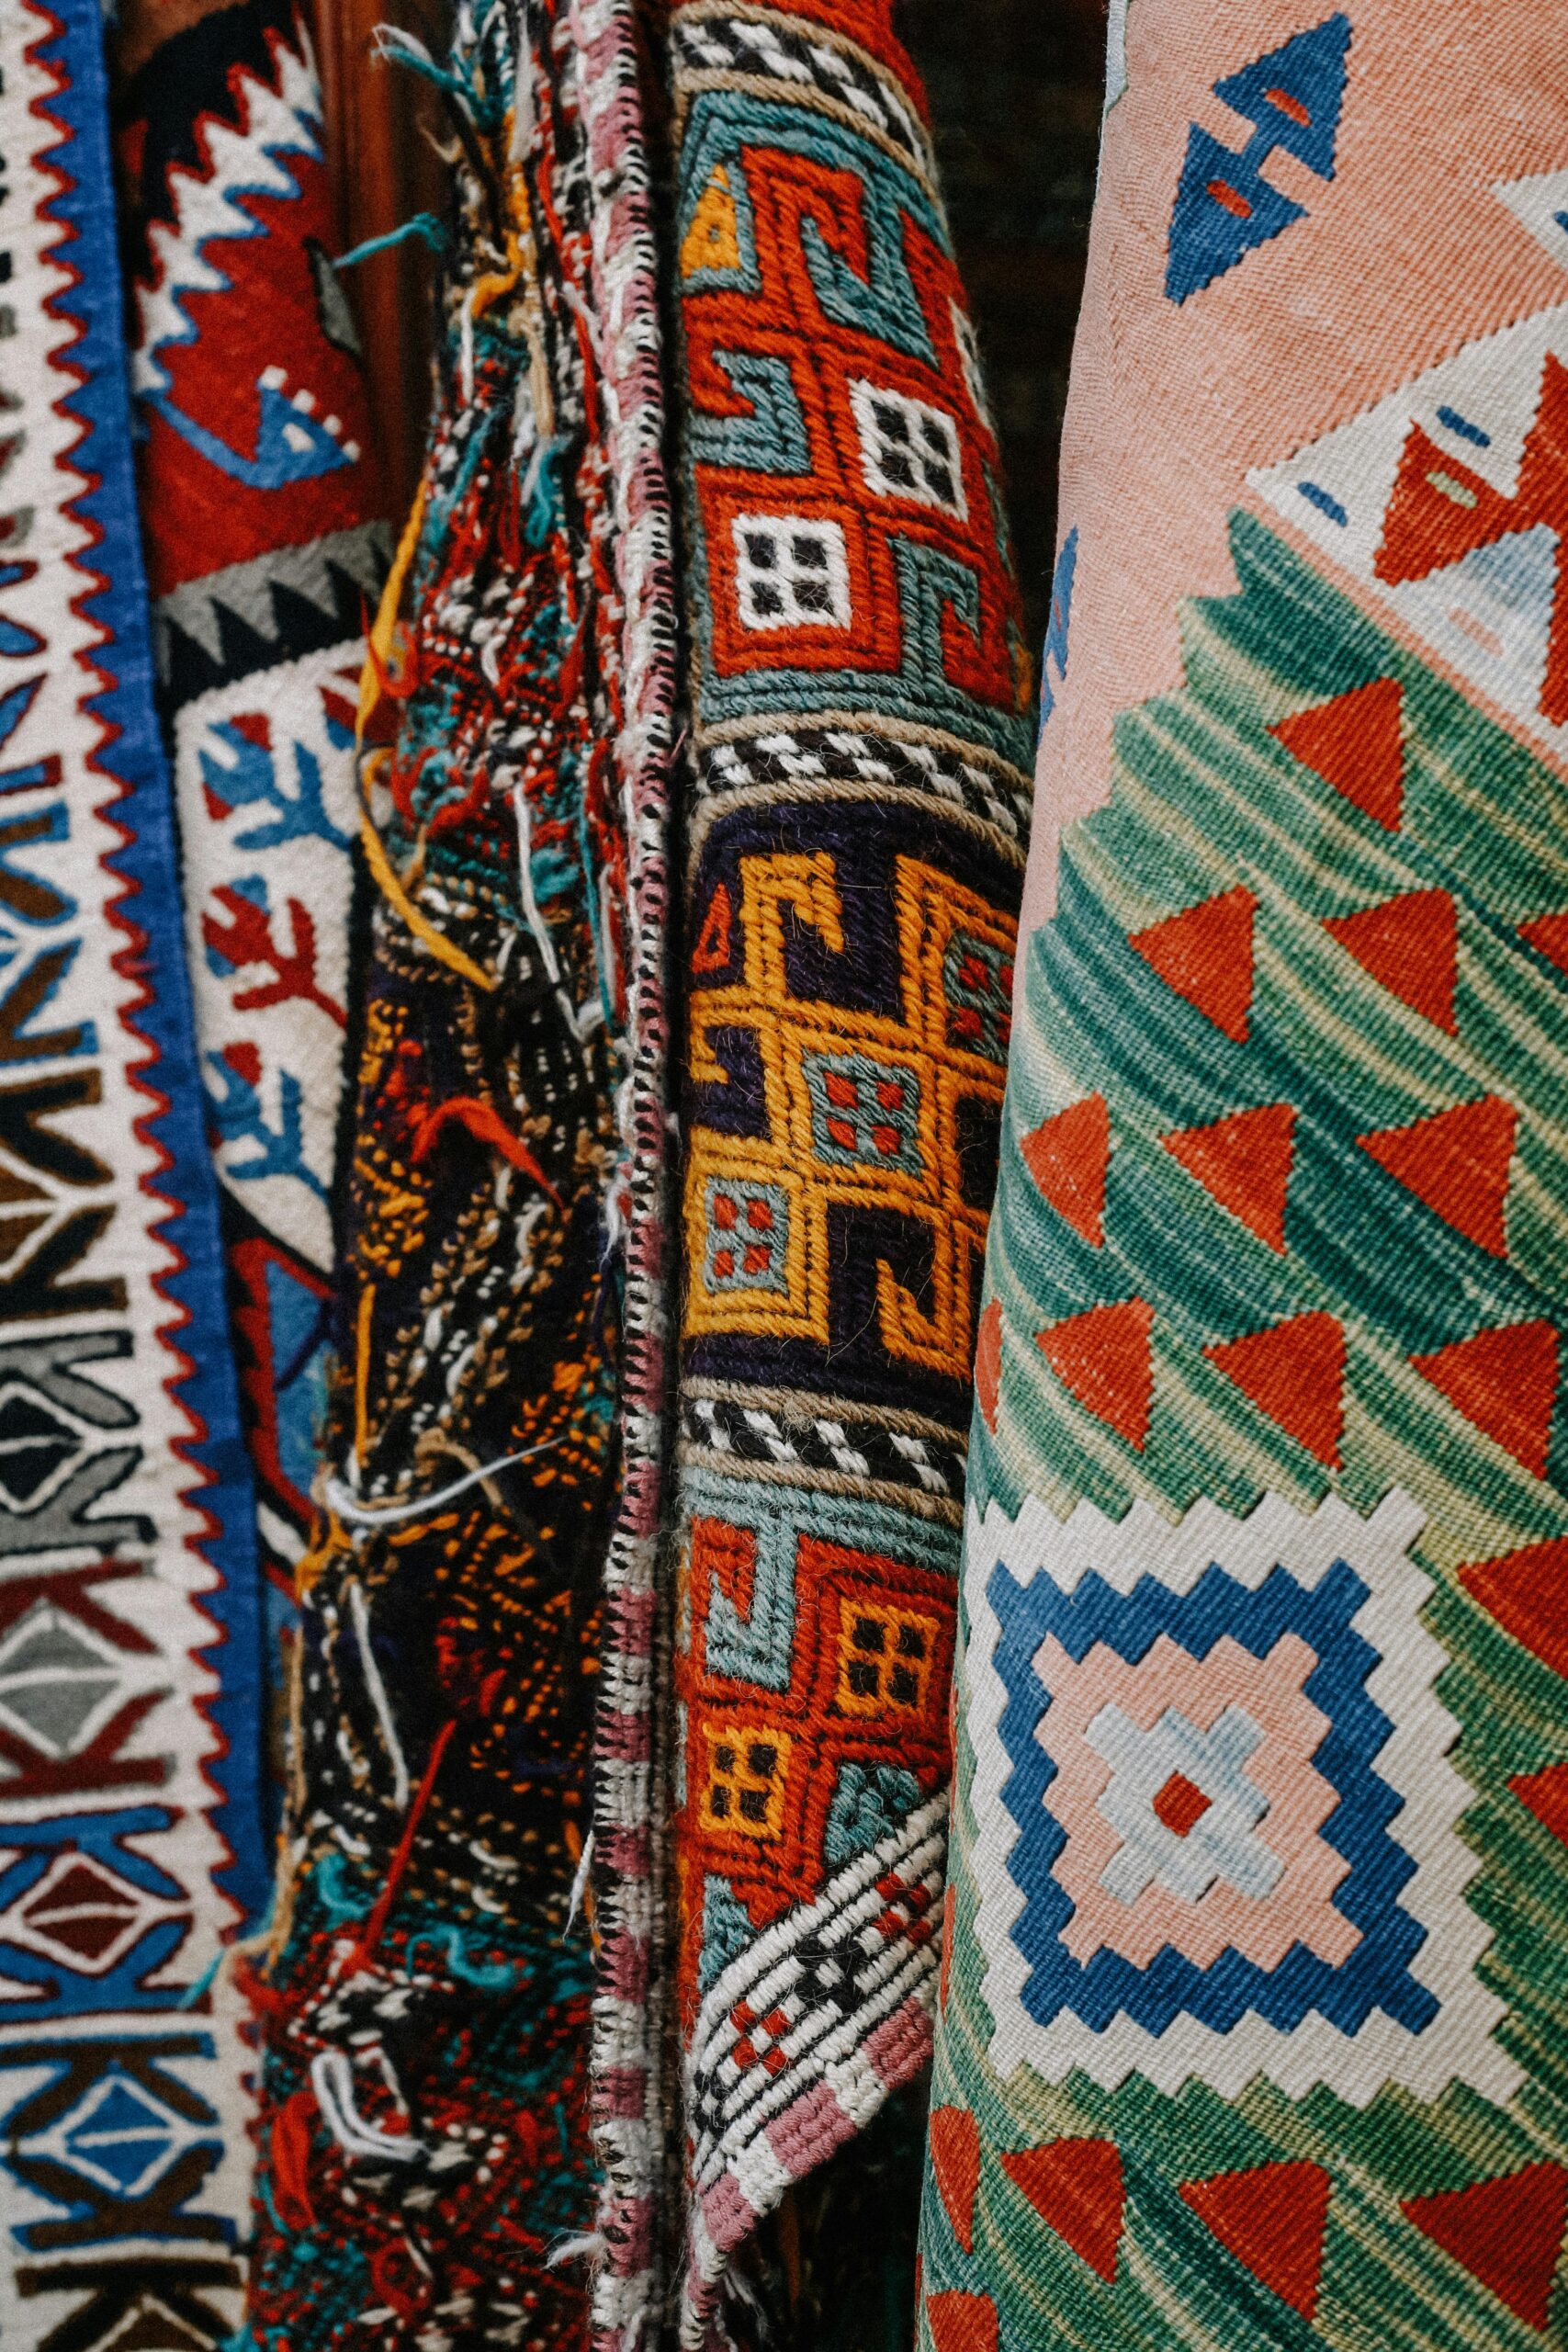
Choosing the Right Materials and Tools
Selecting high-quality materials is essential for a durable and visually appealing tapestry. The main components include:
- Loom – A frame loom or a larger floor loom, depending on the tapestry size.
- Warp threads – Strong cotton or linen threads that form the foundation.
- Weft threads – Wool, silk, cotton, or synthetic fibers, chosen for color, texture, and durability.
- Tapestry needle – Used for hand-weaving intricate details.
- Comb or beater – Helps to pack the weft threads tightly for a sturdy weave.
- Dowel or rod – If the tapestry will be hung on a wall, a wooden or metal rod will help with mounting.
For a textured effect, consider incorporating materials like ribbon, metallic threads, or even small beads to enhance the festive or romantic theme.
Setting Up the Loom and Warping
Begin by securing the warp threads onto the loom. The warp should be evenly spaced and tightly strung to provide a strong foundation for weaving. If your design includes sections of different colors or textures, you may want to mark the warp threads lightly with chalk or a disappearing fabric pen to guide your weaving.
Once the loom is prepared, weave a few rows of plain weave at the bottom to create a stable base. This prevents the tapestry from unraveling once removed from the loom.
Weaving Techniques for a Themed Tapestry
There are several weaving techniques to create a visually engaging tapestry. Depending on your design, you may want to use a combination of the following:
- Plain Weave – The most basic technique, weaving the weft over and under each warp thread. This creates a smooth, uniform surface that works well for backgrounds.
- Soumak Weave – A looping technique that adds texture and dimension, perfect for defining borders or creating raised designs.
- Rya Knots – A great way to add fringe or a tufted effect, often used in Christmas tapestries to depict fluffy snow or garlands.
- Twill Weave – Creates diagonal patterns, ideal for intricate designs such as wedding lace patterns or geometric holiday motifs.
- Slit Tapestry Technique – Used for creating clean, defined shapes, such as a Christmas tree or wedding monogram, by leaving small gaps between sections of color.
As you weave, pay close attention to color transitions, maintaining an even tension in the weft to prevent warping or bulging. If your design includes multiple sections of color, work on small areas at a time to maintain precision.
Adding Details and Personal Touches
Themed tapestries often feature decorative elements that enhance their visual appeal. Consider the following ideas to make your piece truly special:
- Embroidered Accents – Use embroidery to outline details like snowflakes, initials, or floral patterns.
- Metallic Threads – Adding gold or silver thread can make a Christmas tapestry sparkle or give a wedding tapestry an elegant shimmer.
- Beads and Sequins – A great way to add depth and contrast, especially for wedding designs that mimic lace or jewelry patterns.
- Layered Fringe – For a bohemian-style wedding tapestry, multiple layers of fringe can add movement and texture.
Finishing the Tapestry
Once the weaving is complete, it’s time to secure and remove the tapestry from the loom. Carefully tie off the warp threads and weave in any loose ends to prevent fraying. If needed, press the tapestry lightly with a damp cloth to help set the fibers.
To display your tapestry, consider the following options:
- For Christmas décor, hang the tapestry above a fireplace, on a feature wall, or as part of a holiday table setting. Smaller pieces can even be framed and used as gifts.
- For weddings, use the tapestry as a backdrop for the ceremony, as a decorative element for the reception, or even as a unique guestbook where attendees can sign or pin messages.
Preserving and Storing Your Tapestry
To keep your tapestry in excellent condition, store it properly when not in use. Roll it with acid-free tissue paper and keep it in a dry, cool place. If hanging for long periods, dust it regularly and avoid direct sunlight to prevent fading.
Conclusion
Creating a themed tapestry for a special occasion is a deeply rewarding craft that combines artistic expression with meaningful storytelling. Whether weaving a festive Christmas piece or an elegant wedding tapestry, each thread contributes to a lasting and personal work of art. By planning thoughtfully, choosing the right techniques, and incorporating special details, you can craft a tapestry that becomes a cherished part of your celebrations for years to come.