As your tapestry collection grows, it’s easy for tools, yarns, and accessories to pile up and create clutter. A disorganized workspace can lead to misplaced items, wasted time, and frustration when you can’t find what you need. Organizing your tapestry tools not only makes your work more efficient but also helps preserve your materials and inspires creativity in a clean, inviting environment. Whether you’re an experienced weaver or just starting, taking the time to set up a system for your tools will elevate your entire tapestry experience.
The first step in organizing your tools is to declutter your workspace. Begin by sorting through all of your weaving materials and separating what you use regularly from what you don’t. Ask yourself if each item is still in good condition or if it’s truly necessary for your projects. This process helps eliminate items that are no longer useful, such as broken tools or leftover yarn that may not be suitable for your current designs. Decluttering also clears physical and mental space, allowing you to focus on your craft.
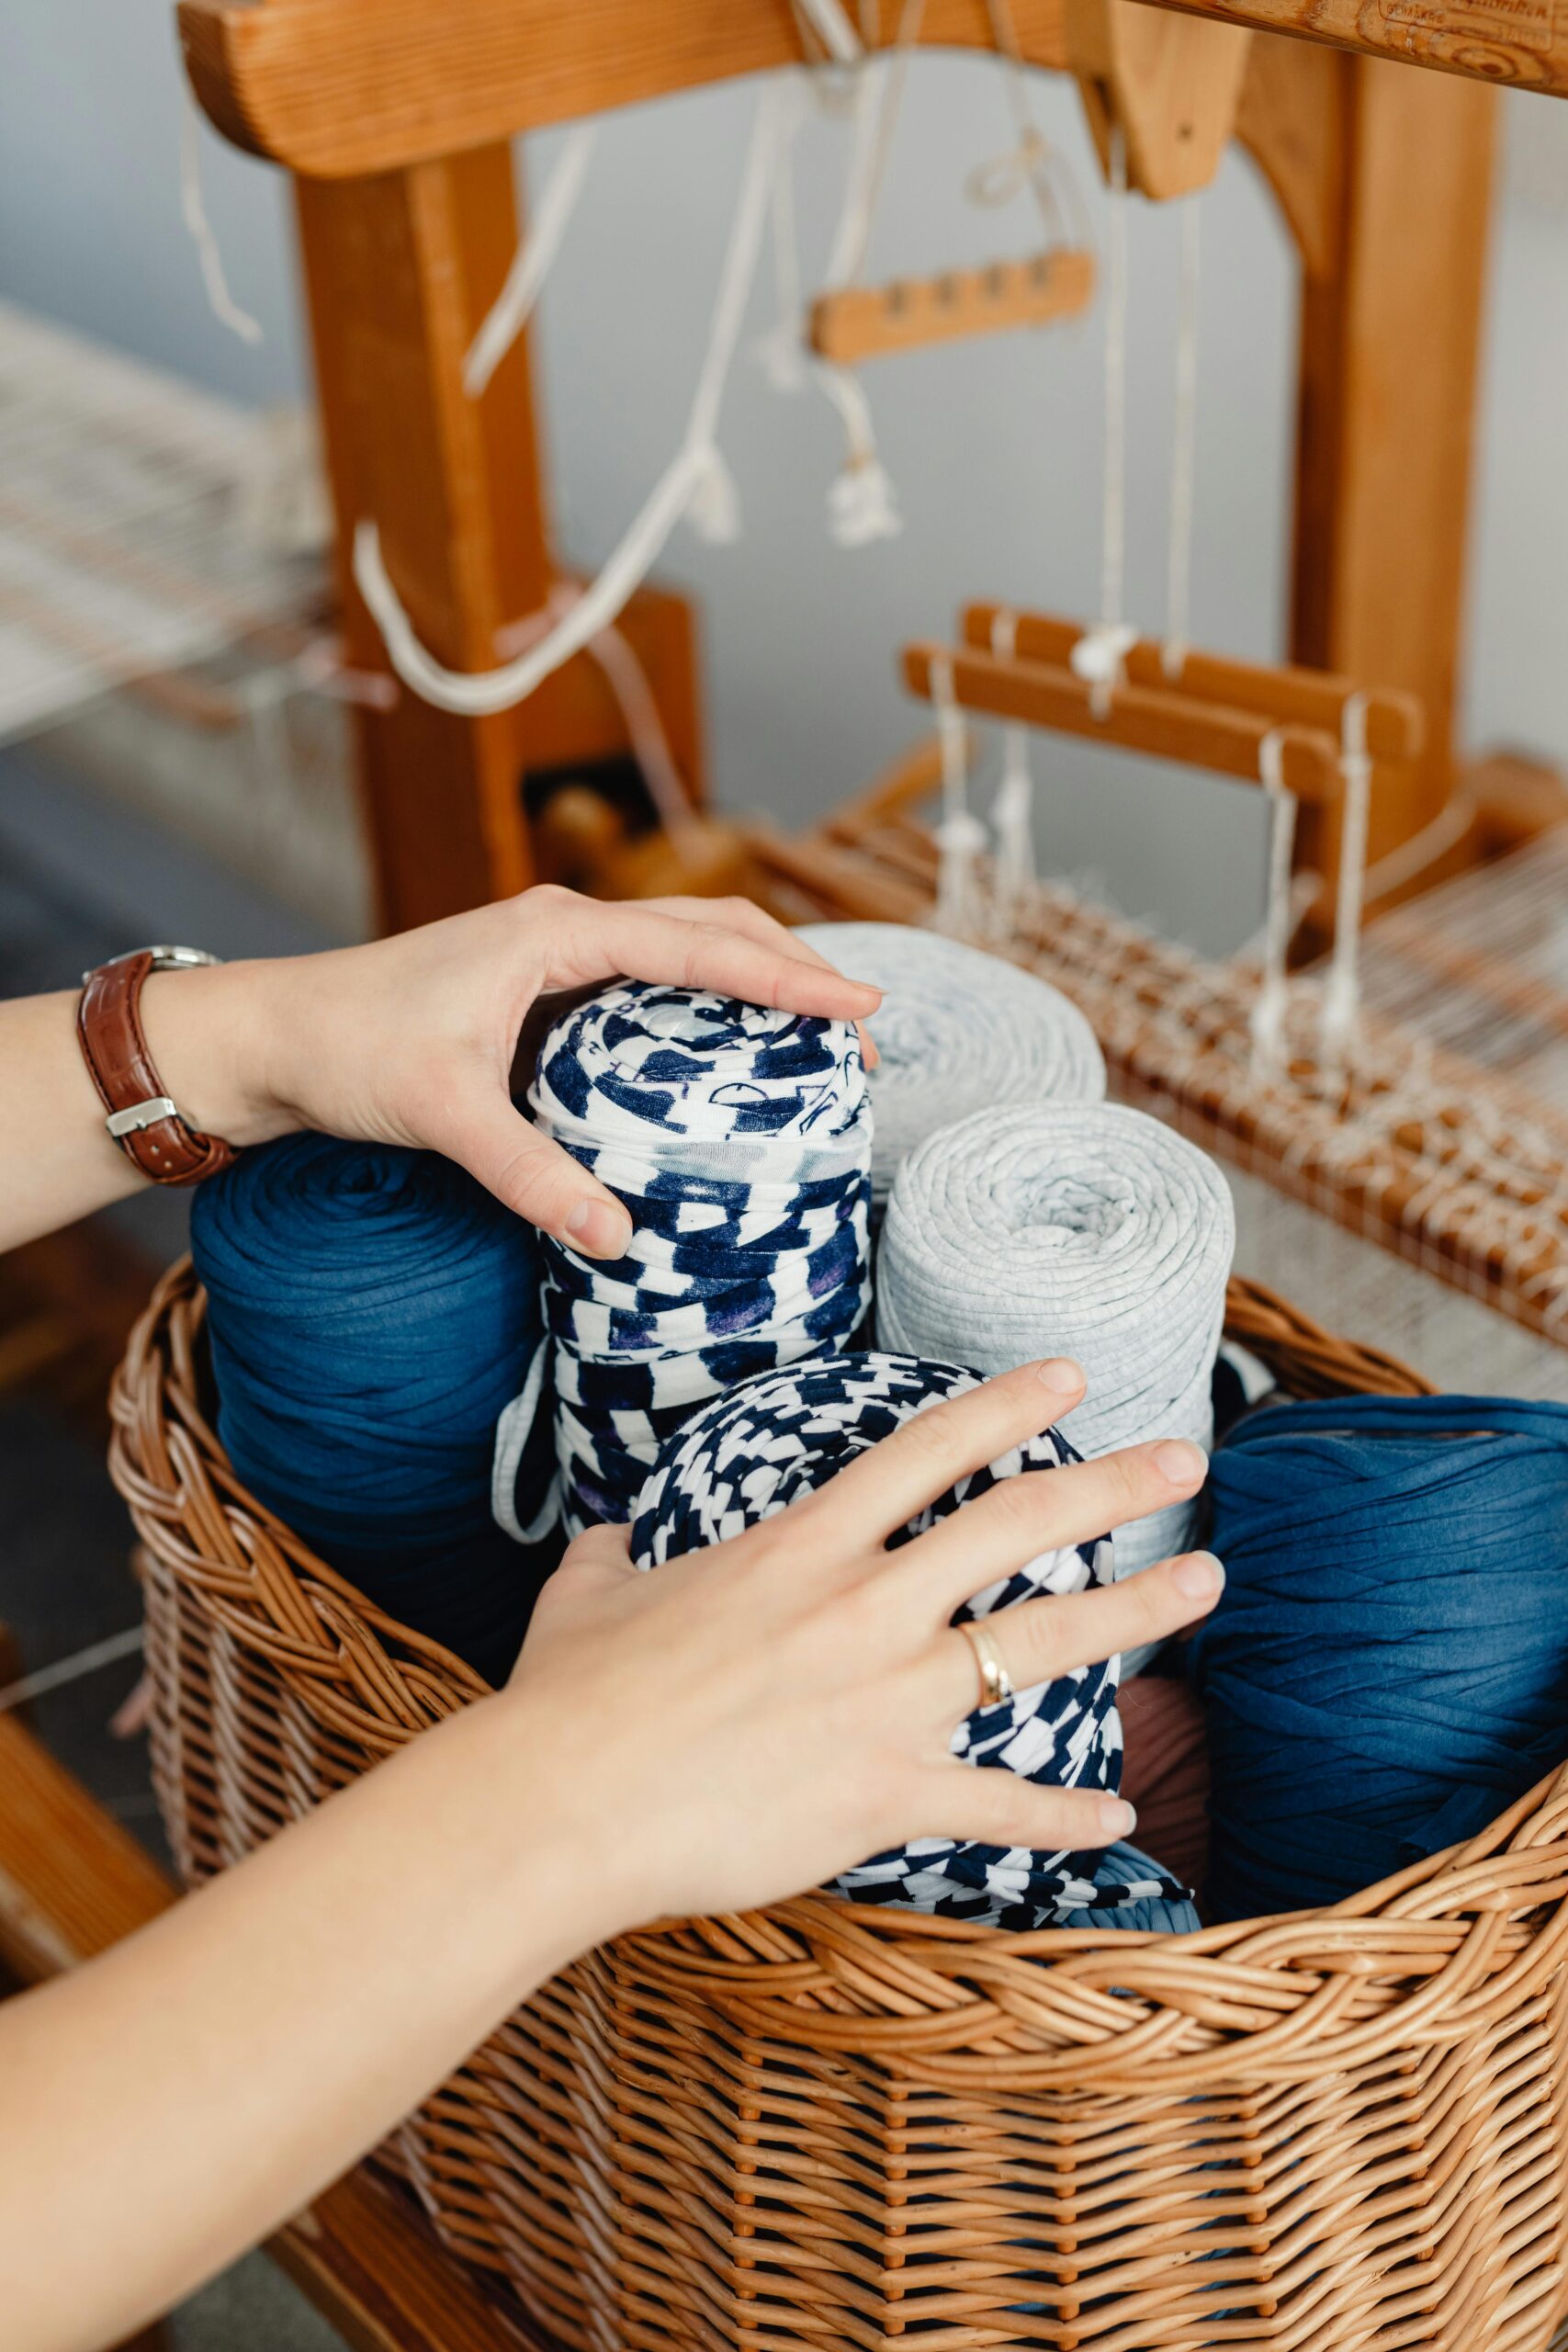
Once you’ve reduced your collection to the essentials, it’s time to categorize your tools. Grouping similar items together makes it easier to locate them when needed. For example, keep all your yarns and fibers in one area, organized either by type, such as wool, cotton, or silk, or by color families if you prefer. Accessories like needles, scissors, and bobbins should have their own designated space. Similarly, separate your looms based on their size and frequency of use. Keeping items categorized creates a logical flow in your workspace, saving you time and effort during projects.
Investing in practical storage solutions is key to maintaining an organized setup. A sturdy toolbox or craft caddy with compartments is ideal for smaller tools like tapestry needles, warp separators, and thread snips. These containers keep items secure and easy to transport if you work in different locations. For yarn and fibers, consider using clear storage bins so you can quickly see what’s inside without rummaging. Yarn organizers with individual compartments or pegs are particularly helpful for keeping skeins untangled and ready to use. If you have limited space, stackable bins or drawers are excellent for making the most of your available area.
One highly effective storage idea for your workspace is a wall-mounted pegboard. Pegboards allow you to hang tools like scissors, bobbins, and shuttles in plain view and within reach, freeing up table space while keeping frequently used items accessible. For larger equipment like looms, shelves or freestanding racks are great options. These storage methods keep your workspace tidy without compromising functionality.
To make your organization even more efficient, label your storage containers, drawers, and shelves. Labels act as visual cues, helping you quickly identify where specific tools or materials are stored. For instance, you can label a bin as “Cotton Yarns” or a drawer as “Needles and Accessories.” If you use clear storage bins, small adhesive labels or tags can add clarity without disrupting the aesthetics of your space. Color-coding labels is another useful technique, with different colors representing categories such as tools, fibers, and ongoing projects.
A dedicated workspace for tapestry is another important step toward staying organized. Choose an area in your home that can comfortably accommodate your tools and materials. A sturdy table or desk is essential for working on your projects, and having storage solutions nearby ensures everything is within arm’s reach. Good lighting is also crucial, as it helps you focus on details and reduces eye strain during long sessions. Add a comfortable chair to your setup to ensure you can work for extended periods without discomfort.
To keep your tools and workspace manageable, focus on having your most-used items readily available. For example, keep your go-to scissors, needles, and measuring tape in a small pouch or tray on your worktable. Place the yarns you’re currently working with in a separate basket or container, making it easy to grab them when needed. If you frequently move between workspaces, consider using a portable caddy to carry your essentials. This approach minimizes disruptions during your creative process.
Rotating your materials based on season or project type can also help maintain organization. If you work on seasonal tapestry designs, such as holiday-themed pieces, store those materials separately during the off-season. For example, pack away your winter-friendly wool in labeled bins once warmer months arrive, and bring lighter fibers like linen to the forefront. This rotation keeps your workspace focused on your current needs and prevents materials from piling up unnecessarily.
Patterns and project notes are another area that can quickly become disorganized. To manage them effectively, consider using a binder with clear plastic sleeves to store printed patterns and sketches. This protects them from spills and wrinkles while keeping them easy to access. For a more modern approach, save your patterns and notes digitally using cloud storage services like Google Drive. Organize your files into folders labeled by project type or date to make retrieval simple. If you prefer handwritten notes, a dedicated notebook or bullet journal can keep all your ideas and measurements in one place.
Once you’ve organized your tools and materials, it’s important to maintain the system. Set aside a few minutes at the end of each weaving session to tidy up your workspace. Return tools to their designated spots, wind up loose yarn, and clear your table of debris or scraps. By making this a habit, you’ll keep your workspace inviting and prevent clutter from building up again.
Finally, personalize your workspace to make it inspiring and comfortable. Add decorative touches like artwork, motivational quotes, or small plants to create a space that feels uniquely yours. A visually pleasing environment not only reflects your personality but also encourages creativity and focus.
Organizing your tapestry tools may take some effort initially, but the benefits far outweigh the time invested. A clean and orderly workspace allows you to work more efficiently, protects your materials, and enhances the joy of creating. By following these tips, you’ll establish a system that keeps your tools tidy, accessible, and ready to support your next masterpiece.