Tapestry-inspired crafts are an exciting way to incorporate the beauty of woven art into everyday items. One such project is transforming a simple photo frame into a tapestry-inspired piece of art. This combination of functionality and artistry can elevate your home décor while celebrating the timeless appeal of weaving. Whether you’re a seasoned crafter or new to DIY projects, this guide will take you through everything you need to know to create your tapestry-inspired photo frame.
What Makes a Tapestry-Inspired Photo Frame Unique?
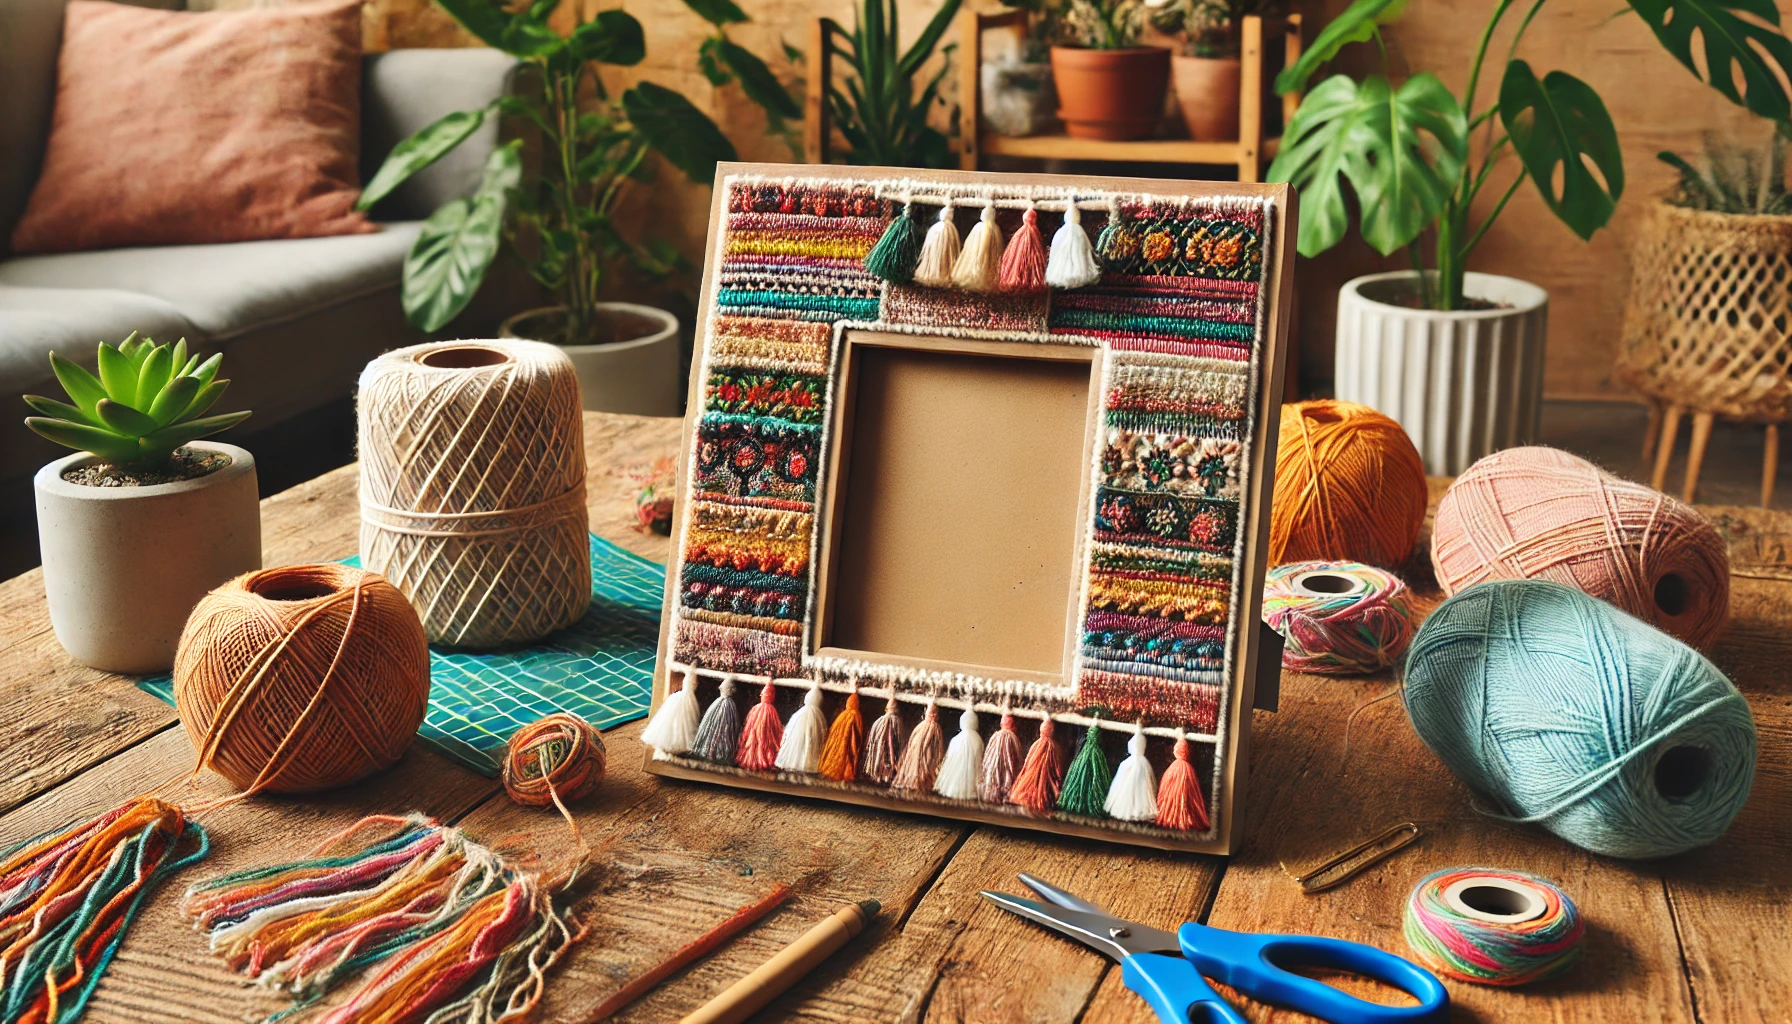
A tapestry-inspired photo frame merges the intricate patterns and textures of traditional weaving with the practicality of modern design. These frames can be tailored to match various décor styles, from rustic and bohemian to minimalistic and contemporary. By integrating fiber art techniques, you can transform an ordinary frame into a statement piece that highlights not only the photo it contains but also the creativity behind the frame itself.
Unlike standard photo frames, these creations involve the use of yarn, threads, or textiles, giving them a tactile, handmade feel. They can also reflect personal preferences in color, pattern, and texture, making them perfect for gifts or personal keepsakes.
Materials You’ll Need
Before starting your project, gather the necessary materials. While this list can vary depending on your creative vision, here are the essentials:
- A wooden or plastic photo frame (preferably one with a flat border).
- A selection of yarns or threads in different colors and textures. Wool, cotton, and synthetic fibers work well.
- Fabric glue or a hot glue gun with glue sticks.
- Scissors.
- A small weaving loom or embroidery hoop (optional, for advanced patterns).
- A ruler or measuring tape for precision.
- Decorative elements like beads, tassels, or feathers (optional).
These materials are easy to find at craft stores or online and provide plenty of room for customization.
Step 1: Choosing the Right Photo Frame
Start by selecting a photo frame that complements your project. For beginners, choose a frame with wide, flat borders to give you plenty of room to work. Frames made of lightweight materials like wood or plastic are easier to handle, especially if you’re attaching multiple layers of fabric or yarn.
The size of the frame depends on your intended use. If you’re creating a frame for a small desk photo, opt for something compact. For larger wall displays, pick a frame that offers enough visual impact to showcase your weaving design.
Step 2: Planning Your Tapestry Design
Next, decide on the tapestry design you want to incorporate into the frame. Consider these elements:
- Color Scheme: Choose colors that match your interior décor or the theme of the photo you’re framing. For example, earthy tones work well for rustic styles, while bright and bold colors suit eclectic or boho themes.
- Pattern: Simple stripes, chevrons, or geometric shapes are ideal for beginners, while advanced crafters can try intricate motifs or freestyle weaving.
- Texture: Mixing different yarn textures, such as combining smooth cotton with chunky wool, adds depth and interest to your design.
Sketch out your ideas on paper or use inspiration from online tapestry patterns to guide your process. This step helps avoid errors later and ensures your design is cohesive.
Step 3: Preparing the Frame
Before attaching any yarn or fabric, clean and prepare your frame. Wipe it down with a damp cloth to remove any dust or debris. If the frame has a glossy finish, consider lightly sanding the surface to help the glue adhere better.
If you’re planning to wrap yarn around the frame, decide whether you want to paint the base in a complementary color. Painting is optional but can provide a more polished look if any part of the frame remains exposed.
Step 4: Weaving or Wrapping the Yarn
There are two main approaches to creating a tapestry-inspired design for your frame: weaving and wrapping.
- Wrapping Method (Beginner-Friendly):
For a simpler approach, tightly wrap yarn around the frame’s borders. Secure one end of the yarn with glue on the back of the frame and start wrapping it around the edges, ensuring the yarn sits snugly against the surface. Switch colors as desired to create striped patterns or gradients. - Weaving Method (Advanced):
For a more authentic tapestry look, use a small loom or embroidery hoop to weave a miniature tapestry. Once finished, glue or sew the woven piece onto the frame’s borders. This method allows for intricate designs like chevrons, waves, or abstract shapes.
For both methods, keep the yarn taut to prevent sagging or uneven patterns. If using multiple layers, let each layer dry before adding the next to ensure durability.
Step 5: Adding Decorative Elements
Once the main yarn work is complete, enhance your frame with decorative elements. Here are some ideas:
- Tassels and Fringe: Attach small tassels or fringes to the bottom edge of the frame for a bohemian vibe.
- Beads and Feathers: Glue beads or feathers into the design for added texture and personality.
- Metallic Threads: Incorporate metallic threads or accents to give your frame a modern, luxurious touch.
The key is to balance the embellishments with the weaving. Avoid overcrowding the frame to maintain a clean and visually appealing design.
Step 6: Securing the Yarn and Finishing Touches
Once your design is complete, inspect the frame for any loose yarn or unfinished edges. Use glue to secure any loose ends on the back of the frame. Trim excess yarn to give your project a neat finish.
If you painted the frame earlier, touch up any areas where the paint may have chipped during the crafting process. Finally, allow the frame to dry completely before inserting your photo.
Ideas for Displaying Your Tapestry-Inspired Frame
Your finished tapestry-inspired photo frame can be displayed in several creative ways:
- Wall Art: Hang it on a gallery wall alongside other woven or textile art for a cohesive look.
- Tabletop Display: Place it on a side table or shelf to draw attention to your handcrafted work.
- Gift: Use it as a personalized gift for a loved one, incorporating their favorite colors or textures into the design.
Why This Project Is Worth Trying
Creating a tapestry-inspired photo frame is more than just a craft project—it’s an opportunity to experiment with weaving techniques and showcase your artistic abilities. This project allows for endless customization, making it suitable for beginners and experienced weavers alike. Additionally, it’s a sustainable way to repurpose leftover yarn or fabrics, reducing waste while creating something meaningful.
Beyond its practical benefits, this project also connects you to the rich history of weaving and tapestry-making. By blending traditional techniques with modern design, you’re participating in a timeless art form that continues to evolve.
A tapestry-inspired photo frame is the perfect blend of functionality and creativity. It offers a unique way to bring the beauty of weaving into your home while celebrating the artistry of fiber crafts. Whether you use bold colors and intricate patterns or stick to minimalistic designs, your frame will serve as a testament to your creativity and craftsmanship.
Ready to get started? Gather your materials, plan your design, and turn a simple photo frame into a tapestry masterpiece. With practice, you can create a collection of frames that add warmth and personality to any space.