Weaving with beads is a captivating way to add sparkle, color, and texture to your textile creations. By incorporating beads into your weaving projects, you can transform simple designs into intricate, eye-catching works of art. This technique blends traditional weaving with jewelry-making, offering endless possibilities for creativity. Whether you’re a beginner looking to experiment with new materials or an experienced weaver seeking to elevate your designs, learning to weave with beads can bring a fresh and exciting dimension to your craft. In this guide, we’ll explore everything you need to know about weaving with beads, from choosing the right materials to mastering essential techniques.
Why Weave with Beads?
Adding beads to your weaving enhances the visual and tactile appeal of your projects. The small, reflective surfaces catch the light beautifully, creating a shimmering effect that adds depth and complexity. Beads also provide a pop of color and texture, making your fabric more dynamic and visually interesting.
Weaving with beads allows you to experiment with different patterns and designs, from simple accents to elaborate, beaded motifs. This versatility makes it perfect for various projects, including wall hangings, jewelry, handbags, and even wearable art. Additionally, it offers a unique way to incorporate meaningful elements, such as birthstone colors or symbolic charms, into your creations, adding a personal touch to your woven pieces.
Choosing the Right Materials
To weave with beads successfully, selecting the right materials is crucial. Here’s what you’ll need:
- Loom: Any type of loom can be used for bead weaving, but a rigid heddle loom or a frame loom works best for beginners. These looms provide the stability needed to support the weight of the beads.
- Warp Yarn: Choose a strong, non-stretchy yarn for the warp. Cotton, nylon, or polyester threads are ideal because they can hold the tension required for beadwork without breaking.
- Weft Yarn: The weft yarn should be thin enough to pass through the beads multiple times. Embroidery floss, fine cotton thread, or beading thread works well.
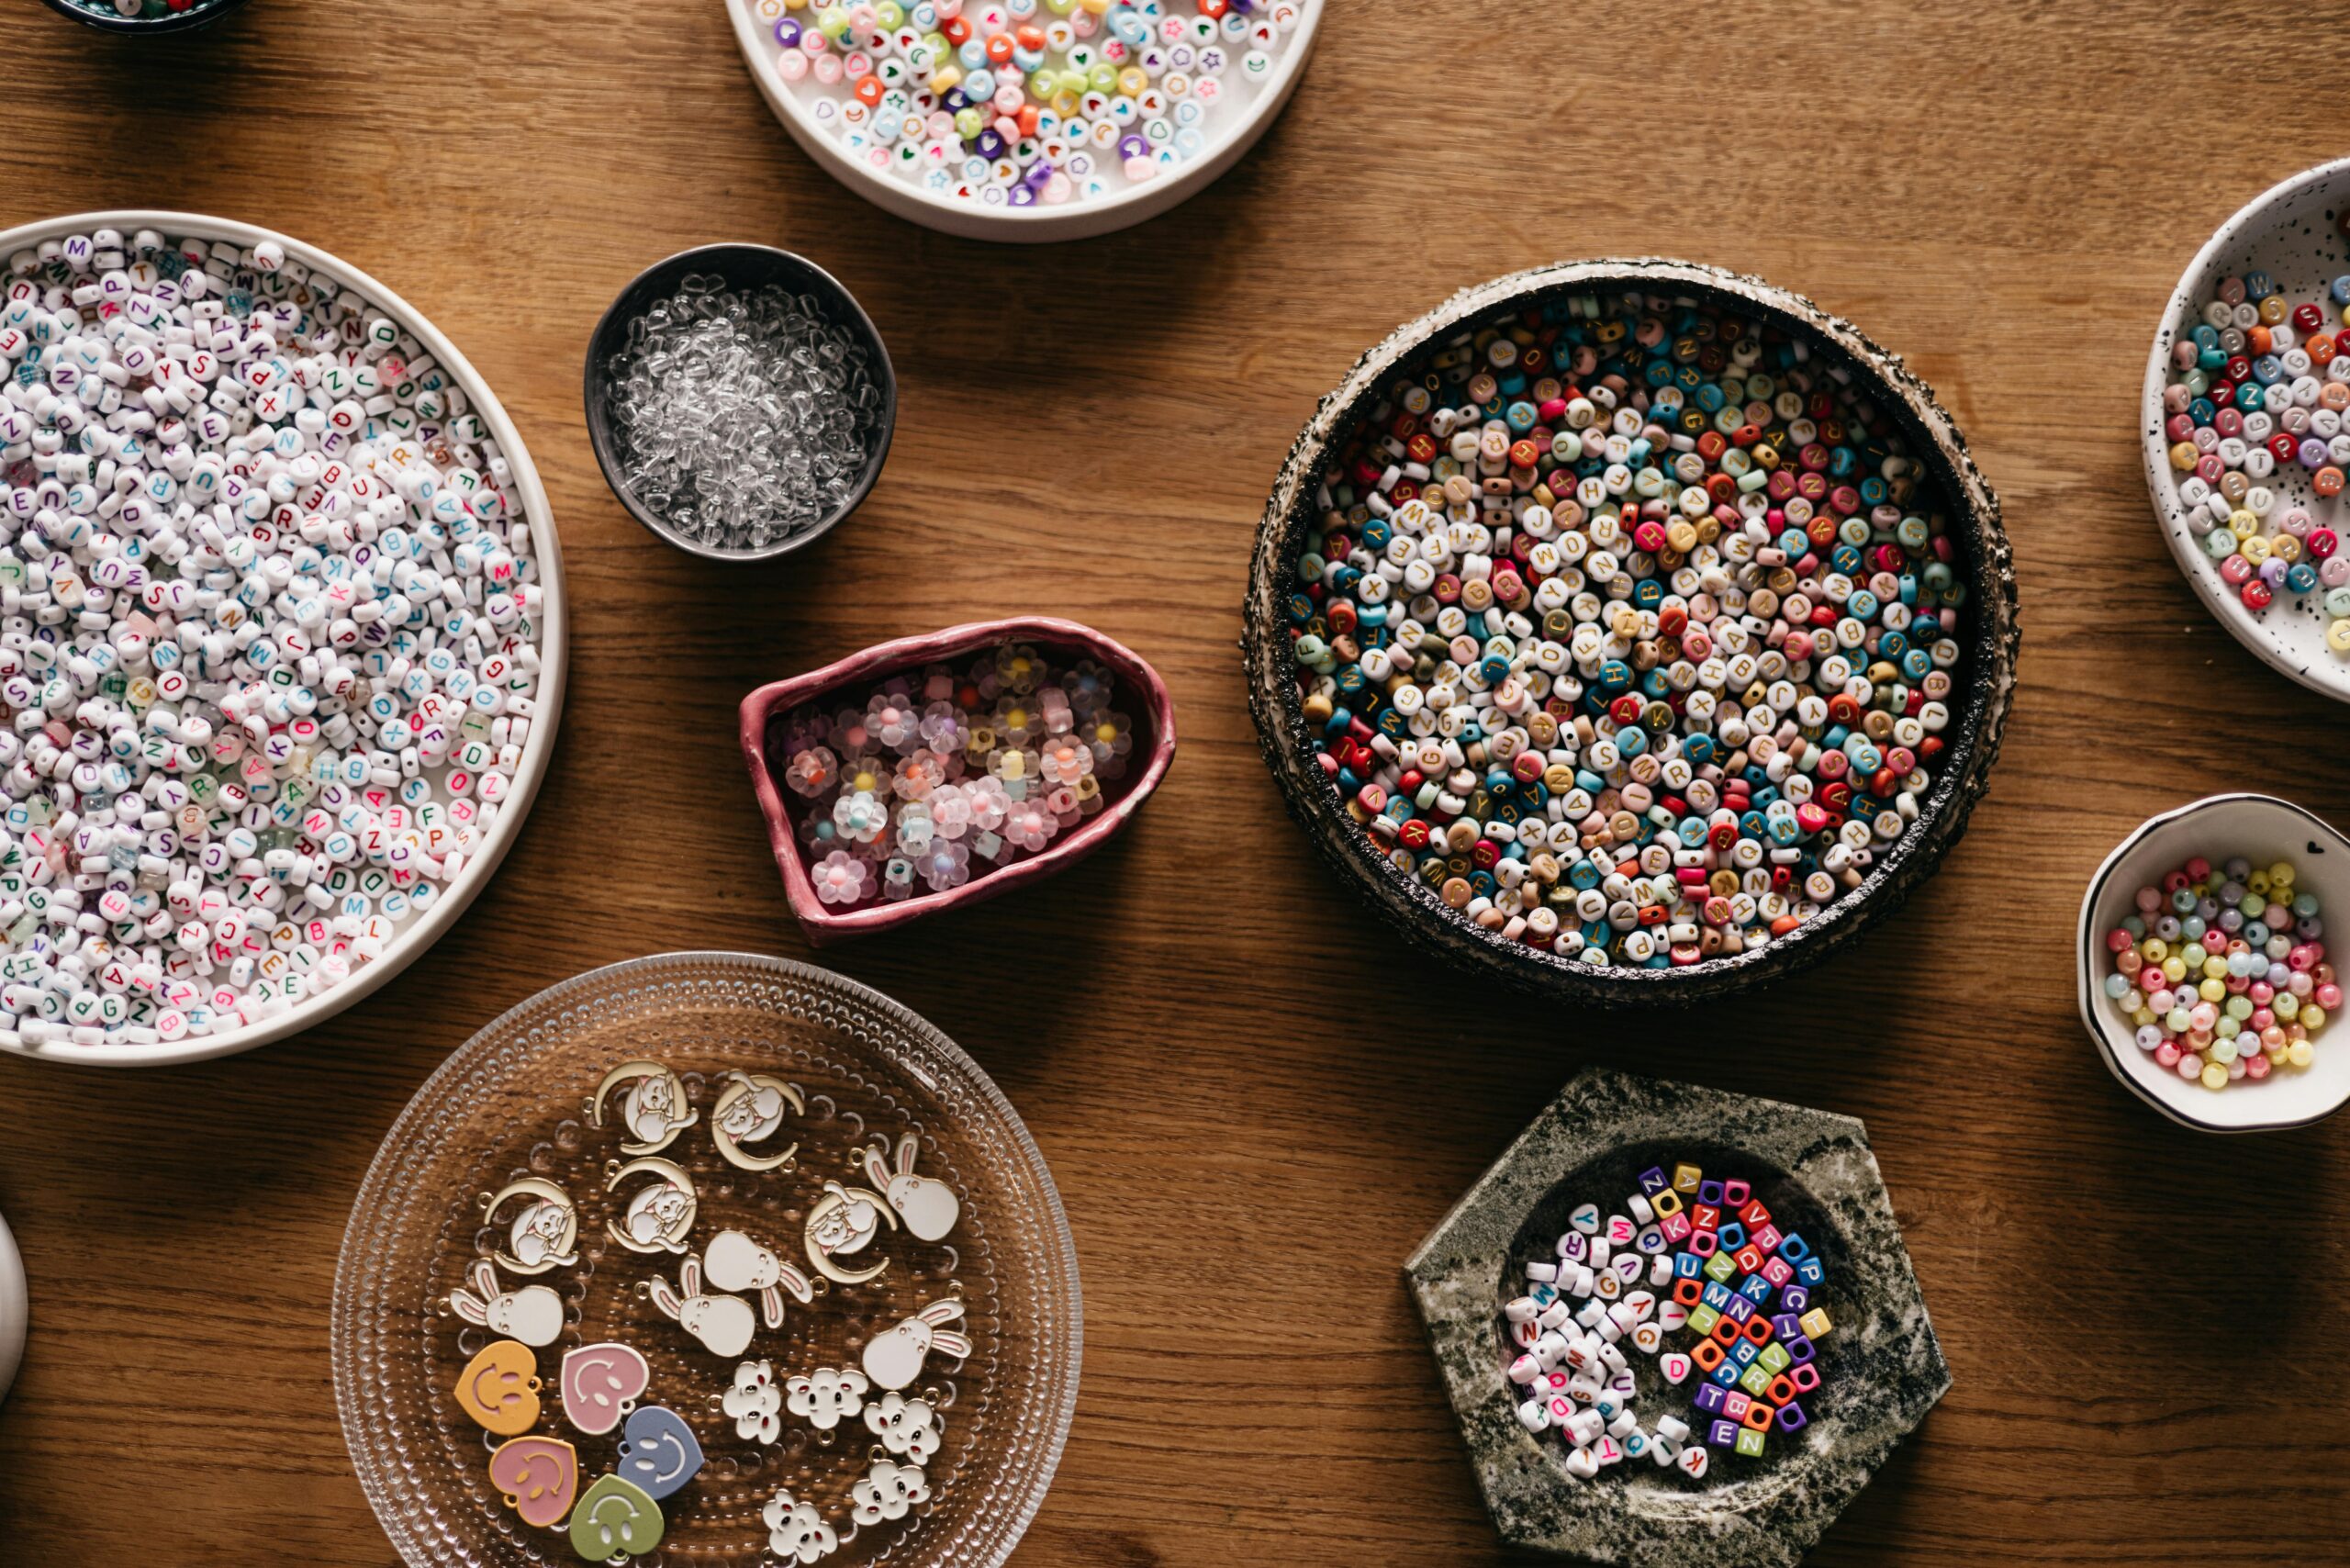
- Beads: Select beads that are uniform in size for a consistent pattern. Popular choices include seed beads, glass beads, and gemstone beads. Make sure the bead holes are large enough for your weft yarn and needle.
- Beading Needle: Use a thin, flexible needle designed for beadwork. It should be able to pass through the bead holes smoothly without snagging the thread.
- Scissors: Sharp scissors are needed to cut threads neatly.
- Bead Organizer: To keep your beads sorted by color and size, a bead organizer or small bowls are useful.
Selecting the Right Beads
The choice of beads can significantly impact the overall look of your woven piece. Here are some common types of beads suitable for weaving:
- Seed Beads: These are tiny, uniformly shaped beads perfect for detailed patterns. They come in various sizes, with size 11/0 being the most popular for weaving.
- Glass Beads: Available in a wide range of colors and finishes, glass beads add a glossy, elegant touch.
- Gemstone Beads: Natural gemstone beads bring an earthy, organic feel to your work. They are heavier, so use a sturdy warp yarn to support the weight.
- Metal Beads: These add a touch of shine and sophistication. They are great for accents or creating a modern, industrial look.
- Wooden Beads: Lightweight and rustic, wooden beads complement natural fibers like cotton and linen.
When selecting beads, consider the color palette and overall design of your project. Mixing different bead sizes and finishes can create unique textures and visual interest.
Setting Up the Loom
To start weaving with beads, you first need to set up the loom. Follow these steps:
- Warping the Loom: Stretch the warp yarn vertically across the loom, maintaining even tension. Make sure the spacing between the warp threads matches the size of your beads. For example, if using small seed beads, place the warp threads close together. For larger beads, leave more space between the threads.
- Threading the Needle: Cut a long piece of weft yarn and thread it through the beading needle, tying a knot at the end. Make sure the needle can pass through the bead holes multiple times.
- Organizing the Beads: Arrange your beads by color and size for easy access while weaving. This helps maintain a steady rhythm and avoids interruptions.
Basic Bead Weaving Techniques
Once your loom is set up, it’s time to start weaving with beads. Here are some basic techniques to get you started:
1. In-Loom Bead Weaving:
This technique involves placing the beads directly onto the weft yarn while weaving on the loom. Here’s how to do it:
- Pass the needle under the warp threads.
- String the desired number of beads onto the weft yarn. The number of beads should correspond to the number of warp threads you’re working with.
- Push the beads up between the warp threads, then pass the needle back through the beads on top of the warp threads, securing them in place.
- Repeat the process, alternating the direction with each row.
2. Supplemental Weft Beading:
In this method, the beads are added as an accent on top of the woven fabric, creating a textured, layered effect:
- Weave a few rows of plain weave as a base.
- Using a separate piece of thread, string the beads and stitch them onto the fabric by passing the needle through the warp threads.
- Secure the ends by weaving them into the back of the fabric.
3. Freeform Bead Weaving:
This technique involves adding beads randomly or in abstract patterns without a strict structure, perfect for creating artistic, organic designs. It allows for creativity and experimentation with different bead sizes and shapes.
Creative Project Ideas
Weaving with beads opens up a world of creative possibilities. Here are some inspiring project ideas:
- Beaded Wall Hangings: Create intricate patterns or abstract designs using colorful seed beads and textured yarns.
- Jewelry: Design unique necklaces, bracelets, or earrings by combining weaving and beading techniques.
- Home Décor: Add beaded accents to table runners, coasters, or pillow covers for a touch of elegance.
- Wearable Art: Incorporate beaded patterns into scarves or shawls for a luxurious, handcrafted look.
Tips for Successful Bead Weaving
- Maintain Even Tension: Consistent tension on the warp threads is essential for even bead placement. Adjust the tension as needed to keep the fabric flat and smooth.
- Plan Your Design: Sketching the pattern on graph paper can help you visualize the bead placement and color combinations.
- Check Bead Alignment: Make sure the beads sit snugly between the warp threads for a clean, polished look.
- Experiment with Colors and Textures: Mix matte and glossy beads or combine different sizes for dynamic, textured designs.
Finishing and Displaying
Once your beaded weaving is complete, carefully remove it from the loom and secure the warp threads by tying them in pairs or weaving them back into the fabric. Trim any loose ends and attach the piece to a dowel for display if creating a wall hanging.
For jewelry pieces, add clasps or hooks as needed, ensuring they are securely fastened. For home décor, consider backing the fabric with felt for added stability.
Weaving with beads is a fantastic way to innovate in textile art, combining the ancient craft of weaving with the elegance of beadwork. The interplay of colors, textures, and light creates captivating pieces that stand out as both art and décor. Whether you’re weaving a shimmering wall hanging or crafting beaded jewelry, this technique allows for boundless creativity.